Your First Program
Now it’s time to write and run your first IEC 61131-3 program. By the end of this chapter, you will have a working doorbell program running in the IronPLC virtual machine.
Create a Project Directory
Open a terminal and create a new folder for your project:
mkdir doorbell
cd doorbell
Then open the folder in your development environment:
code .
Tip
If you are using Cursor, use cursor . instead of code ..
Write the Program
In your development environment:
In the main menu, select .
In the New File… dialog, select the option.
Enter the following code into the Editor:
main.st — Doorbell Program¶PROGRAM main VAR Button : BOOL; Buzzer : BOOL; END_VAR Buzzer := NOT Button; END_PROGRAM
Save the file with the name
main.st.
If the IronPLC extension is installed, you should see no errors highlighted in the editor.
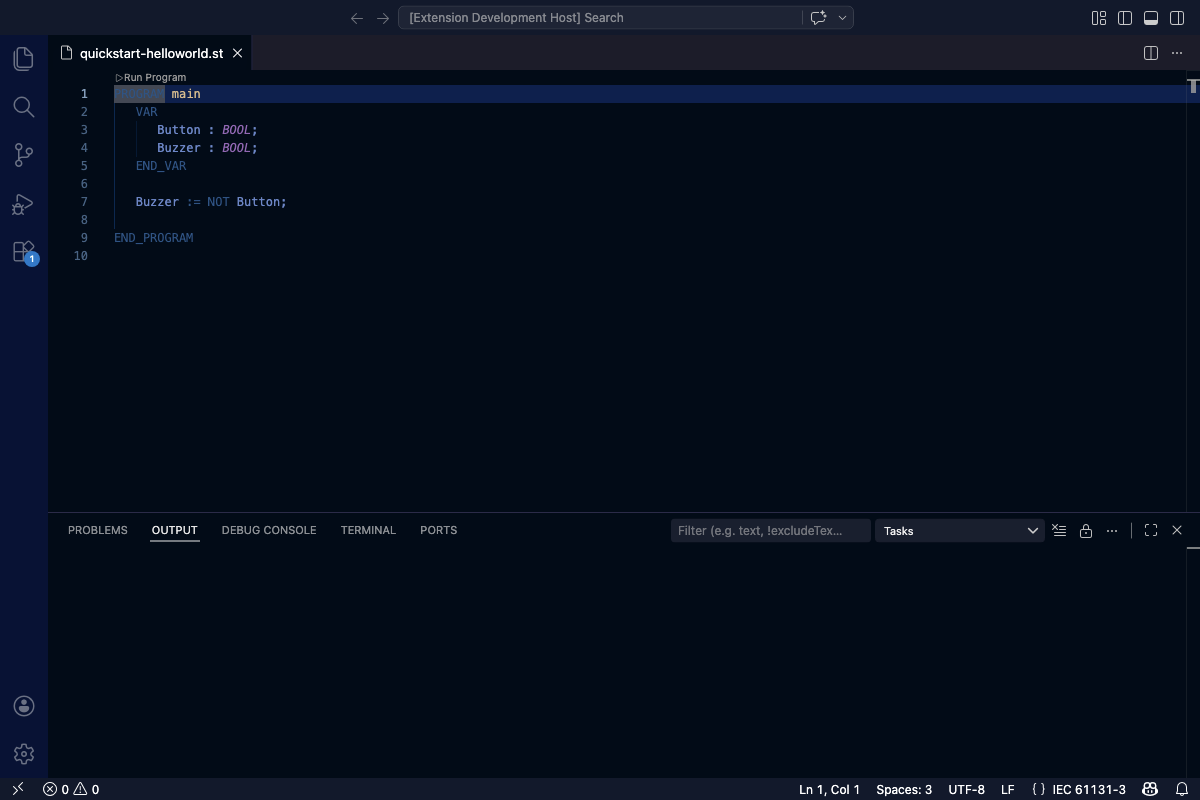
The doorbell program with syntax highlighting and no errors.
What This Program Does
Let’s break it down:
PROGRAM main…END_PROGRAMdefines a program namedmain. A program is the basic unit of control logic in IEC 61131-3, similar to amainfunction in other languages.VAR…END_VARdeclares two variables of typeBOOL.Buttonrepresents the sensor input andBuzzerrepresents the actuator output.Buzzer := NOT Button;is an assignment statement. The:=operator assigns the value on the right to the variable on the left. WhenButtonisFALSE(not pressed),BuzzerisTRUE(sounding).
Run the Program
Look for the Run Program link that appears above the
PROGRAM main line in the editor. This is a code lens provided by the
IronPLC extension.
Click Run Program.
The IronPLC Run output panel opens automatically. It shows the current scan cycle number and the value of every variable, updating as the program runs. You should see output like:
Scan cycle: 1
---
  Button : BOOL = FALSE
  Buzzer : BOOL = TRUE
Click Stop above the
PROGRAMline to end execution.
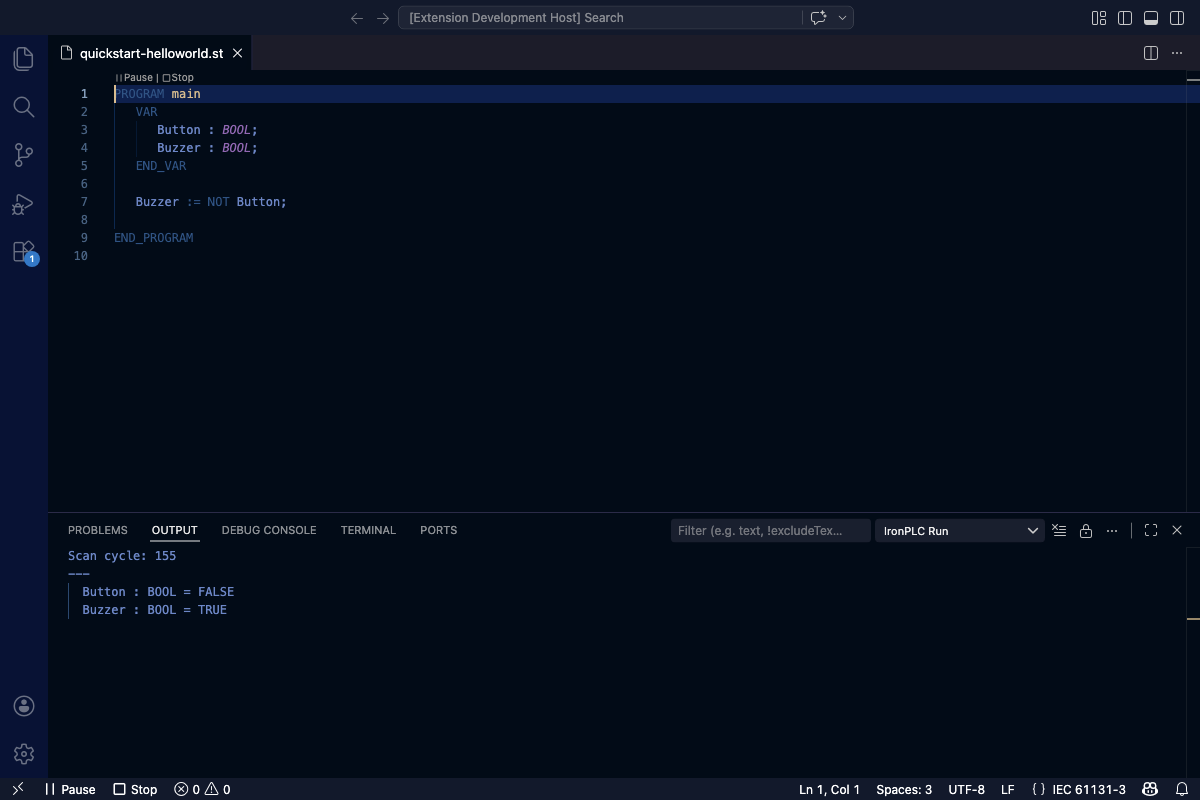
The IronPLC Run panel showing scan cycle output with variable values.
Button starts as FALSE (the default for BOOL), so
NOT Button evaluates to TRUE, and the buzzer sounds. This is
exactly the sense-control-actuate cycle in action — even though there is
no physical hardware connected yet.
Tip
You can also check, compile, and run from the command line. See Check, Compile, and Run from the Command Line.
Next Steps
You now have a working program. In the next chapter, you will add a timer to make the buzzer pulse automatically and learn how the configuration block controls the scheduling.
Continue to Configuring Your Application.